 Credit: blackandkillingit.com Credit: blackandkillingit.com
Lucky are those, like my husband, that can just go into the shower and wash their hair in any way without any consideration for tangling. For the rest of us, we need a technique; more especially when hair grows beyond shoulder length. This is my shampoo methodology:
Techniques for reducing tangles:
1. Wash your hair in twists. If your hair is longer than shoulder length it should already be in twists to prevent re-tangling. This keeps the hair strands together and stops errant strands from getting tangled around their neighbours. This technique is optimal if you're washing your hair bent over a bath tub as the action of bending forwards and then standing back up increases the rate of tangling. It's also best for medium to long hair. 2. Keep your hair flowing in a downward direction. This technique is easier if you have a shower whose head you don't have to hold up! Wash your hair with your hair held upright to stop the strands from moving about and getting tangled. This is such simple advice but it actually works! If your hair is in twists then this is not that important. 
 Click For Queen Naa's Journey Click For Queen Naa's Journey
If your shampoo is too thin there are two ways you can thicken it.
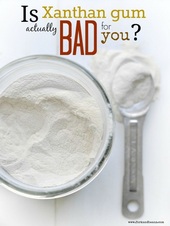
I used to use xanthan gum but it can be hard to work with so I upgraded to crothix. pH Your shampoo should have a pH between 5.5 and 6.0. To achieve this use citric acid. Add 0.5% (0.5g for a 100g recipe) at a time until you reach your desired pH. Citric acid is very widely available because it's used commercially to adjust the pH of food and cosmetics. How To Adjust Shampoo pH With CitiricHow To Make A Shampoo Thicker: Xanthan Gum vs. Crothix Vs. Salt
 Click for Queen Melissa's Natural Journey Click for Queen Melissa's Natural Journey
This is one of the problems that I found when I first started making DIY Hair Recipes. I got a lot insight from the seasoned mixtress Swift Craft Monkey and The Naked Chemist.
Basically:
Here is a brief "cheat sheet": 
HEATED WATER PHASE
HEATED OIL PHASE
COOL DOWN / WATER PHASE
I will update the lists above as I introduce new ingredients. If you add an ingredient to the heated phase that should be added in a cool down phase it may:

Get your FREE ebook on How To Grow Long, Healthy Natural Kinky or Curly Hair. You might also like: Ref: The Naked Chemist, SwiftCraftMonkey 
Infusion involves extracting the compounds in something (e.g. herbs or a vegetable such as carrots) into something else such as oil, water or alcohol. Oil in this particular case.
An infused oil has both the benefits of the regular base oil and the herb or plant that has been infused into it. Basically, you get two for the price of one. If you would be using the oil for cooking then transferring the flavour or scent of the herb may be your primary purpose. For hair or body care products the vitamins, minerals and other components like colour are more important. You can buy an infused oil or you can make one yourself. How To Make An Infused Oil 
To make an infused oil yourself you would simply:
Personally, I prefer to buy my infusions especially carrot tissue oil. Carrots are macerated (i.e. mashed up) and infused into sunflower oil. The resulting oil is bright orange and gives whipped butters an excellent natural looking yellow colour. 
Get your FREE ebook on How To Grow Long, Healthy Natural Kinky or Curly Hair. You might also like: Ref: infusion (wikipedia), How To Make Infused Oils (instructables.com), Carrot Tissue Oil (SwiftCraftMonkey), What Is Carrot Oil (wisegeek.com)
This recipe is for a moisturizing and conditioning shampoo that will be great for dry, thin hair. The shampoo doesn't contain oil so as not weigh strands down but includes geranium essential oil to give hair strands strength. If you have greasy hair or some product build-up this is a good option because it does not contain any oil. It is more moisturizing than the soothe me shampoo though.  Credit: @lhdc2011 (on instagram) Credit: @lhdc2011 (on instagram)
Heated phase (40%)
10% decyl glucoside, 10g
Cool-down phase (9.5%)
Options once completely cool:
Method (using a liquid thickener, e.g. crothix)
Note: you cannot use xanthan gum in this recipe. For an alternative recipe that allows for xanthan gum please get the Shampoo Course book or Ingredients List.
Application

Storage: The shelf life is about 12 months. Get your FREE ebook on How To Grow Long, Healthy Natural Kinky or Curly Hair. You might also like: 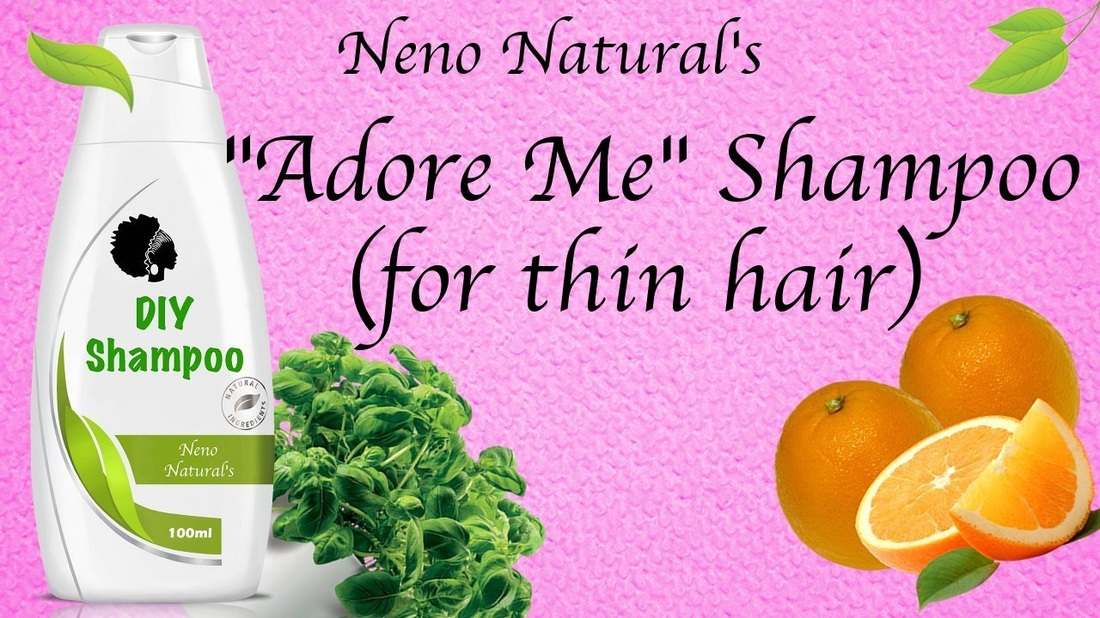

Plant oils are extracted from vegetables, fruits, nuts and seeds of plants in various ways.
1. Cold Pressing (Mechanical) Cold pressed oils have the highest nutritional value, and if you are eating them also the best flavour and aroma. Cold pressing involves grinding the vegetable, fruit, seed or nut using heavy granite millstone or stainless steel presses in such a way that the friction doesn't produce a lot of heat. By keeping temperatures below 49°C (120°F) the goodness of the oil is preserved. The lower you keep the temperature the better the oil you get. Some oils such as grapeseed oil are never produced by cold pressing because you simply don't get much oil out of them with the method. 2. Expeller Method (Mechanical) Under the expeller method oils are extracted using high pressure. Heat may also be used. If it is, temperatures as high as 85°C (185°F) are applied. 3. Solvent Extraction (Chemical)
The amount of solvent left could range from 6-20% with some solvents. With hexane, however, the residue left is said to be 10ppm which is a very low concentration; it's equivalent to 0.001%.
Personally, if I could prove that the solvent used was hexane and the price was much lower than with other oils then I would be happy to take my chances on this one because I spend a small fortune on ingredients for my DIY Hair Care Recipes. 
Get your FREE ebook on How To Grow Long, Healthy Natural Kinky or Curly Hair. You might also like:
Ref: whfoods.org, cold-pressed oils (about.com), Expeller Pressing (wikipedia), 
Yes, cold pressed oils are better because they retain more of the “goodness” of the oil (vitamins, minerals and other components).
That said, if there is a significant premium you might prefer to buy oils that have been extracted using other methods. You might find that you get all the same benefits anyway. Whilst oils extracted under conditions with more heat might have lost some of the nutritional value during the extraction process they may be refortified with vitamins and minerals during the refinement process. If you have access to the manufacturer just ask. Lots of sellers also have a lot of information on the oils they sell even when those oils have been purchased from a third party. The more times the oil has changed hands the less likely it is that the seller will have accurate information. 

Preservatives help cosmetic products last longer by protecting formulations from yeast, fungi (antifungal), mold/microbes (antimicrobial), bacteria (antibacterial) and rancidity or oxidation (antioxidant).
Any cosmetic product that contains water (the source of moisture) needs a preservative to extend its shelf life. Without a preservative the product would go off within about two weeks; a week or two longer if it’s in the fridge. If you want to produce products for commercial use you have to use preservatives to one degree or another because there can be quite a long lag between your product being produced, landing on a store shelf and eventually reaching someone’s bathroom. Even once the product gets to the end user it may take a few weeks or months before they use it. For instance I buy some of my favorite products in bulk and it can be many months before I get round to the final bottle. 
How long should preservatives enable a hair product to last?
Ideally two to three years. Importantly, note that whilst most products may have a 2 to 3 year shelf life from the time of manufacture, once opened this lifespan can be as short as 30 days and at most 12 months. It’s generally advisable to throw away any beauty products that have been open for a year. How much preservative should you use? It depends. Rinse-out products such as shampoo require a different concentration of preservatives than leave-in products. The longer you want the product to last the more preservative you will need to use. The preservative manufacturer’s Material Safety Data Sheet (MSDS) will provide the acceptable usage rates. That is, the quantity of preservative that you should use. Importantly, keep in mind that different preservatives have different usage rates. Use enough preservatives to prevent the growth of microbes but not so much that they cause skin irritation, allergic reactions, product instability and other negative side effects. 
How should you choose your preservative?
Do some research to ensure that your particular preservative won’t cause too many allergic reactions (not that everything is prone to creating allergic reaction so you can't avoid this), that it works well with all your other ingredients and that it operates efficiently within the pH range that it needs to operate. The perfect preservative should not cause a change in the color or smell of your product. In addition read up on any regulations covering it, e.g. in Europe some preservatives are banned or their usage is heavily regulated. I have opted for optiphen and a preservative that is a mix of Phenoxyethanol & Ethylhexylglycerin. 
Is It Okay To Have Hair Products Without Preservatives?
Only in certain products, e.g. water-free hair butters and oils is that possible. For all other hair products that need to contain water such as shampoos, conditioners, detanglers and moisturizers you cannot avoid using preservatives if you want the product to last more than a couple of weeks. Preservative-free products rot quickly and require constant replacement. Any product that claims to be “Preservative Free” is either harmful or outright mislabeled; they simply mean they are using more natural preservatives. Even then, natural alternatives offer limited protection against bacteria and as such need to be combined with other preservatives for full preservation of the product. There is no evidence at all that preservatives are harmful and if you use them in the right quantities they will help your products last much longer without causing any negative side effects. Whether you use preservatives to prolong the life of your product or not, always store your bottles in a cool dry place. 
Get your FREE ebook on How To Grow Long, Healthy Natural Kinky or Curly Hair. You might also like: Ref:
Gels are very natural and were therefore a very attractive option for thickening my shampoos when I started out.
Natural though they may be, don't just jump into using a gel before you understand how that particular gum/gel works and what ingredients it might not work well with. I have been using xanthan gel from the start. In fact, my very first DIY recipe was a shampoo using xanthan gel. These are the most important things you should know about xanthan gel:
Interestingly, apparently xanthan gum is the only gum that can be used in products that are registered as "organic" by the USDA. I don't know if that is also the case in the UK and Europe. Xanthan gum forms lumps very easily, in fact, I used to hate using it for that reason until I found a recipe for diluting xanthan gum that helps reduce/prevent the lumps. This is the recipe, I have adapted it a little to make it better and less lump prone:
Click For Her Profile: Queen Crystal (Vlogger, NaturalMe4C) ~ Queen Of Kinks, Curls & Coils™ (Neno Natural)
Ingredients (for 100g formulation)
Note: the xanthan gum in this recipe can be substituted with other gums, e.g. cellulose gum, if you don’t want to use the xanthan gum. I don't currently use any other gums; I have tara gum but I am yet to use it. Method
Application
Use this gel to thicken your shampoo. Instead of adding water to a shampoo mixture in the heated phase add this gel mixture instead. That is, you can use this as your base for formulating a shampoo. You can also use this as a styling gel. This will hold your hair in place without being overly stick or looking white when it dries up. Storage: 9 months If you don’t use the gel after this point make a fresh batch next time you are making a shampoo. I prefer to use fresh ingredients so I would tend to make a fresh batch every time I am making a shampoo. Tweaking The Recipe:

Get your FREE ebook on How To Grow Long, Healthy Natural Kinky or Curly Hair. You might also like: Ref: Using Natural Gums to Thicken Natural Cosmetic Products
This recipe is for a moisturizing and conditioning shampoo that will be great for frizzy hair. If you have very oily hair then I have several recipes for oily hair in my DIY Shampoo Recipes Book. 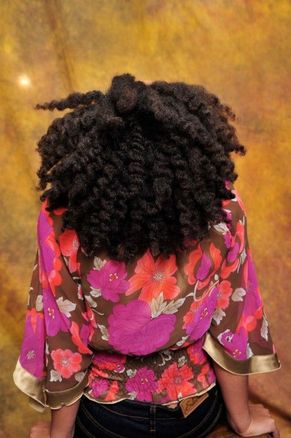
Heated phase (50%)
8% lauryl glucoside, 8g 7% coco glucoside, 7g
Cool-down phase (9.5%)
Options once completely cool:
Method (using a liquid thickener, e.g. crothix) Note: you cannot use xanthan gum in this recipe. For an alternative recipe that allows for xanthan gum please get the Shampoo Course book or Ingredients List.
Application

Storage: The shelf life is about 12 months.
Get your FREE ebook on How To Grow Long, Healthy Natural Kinky or Curly Hair. You might also like: 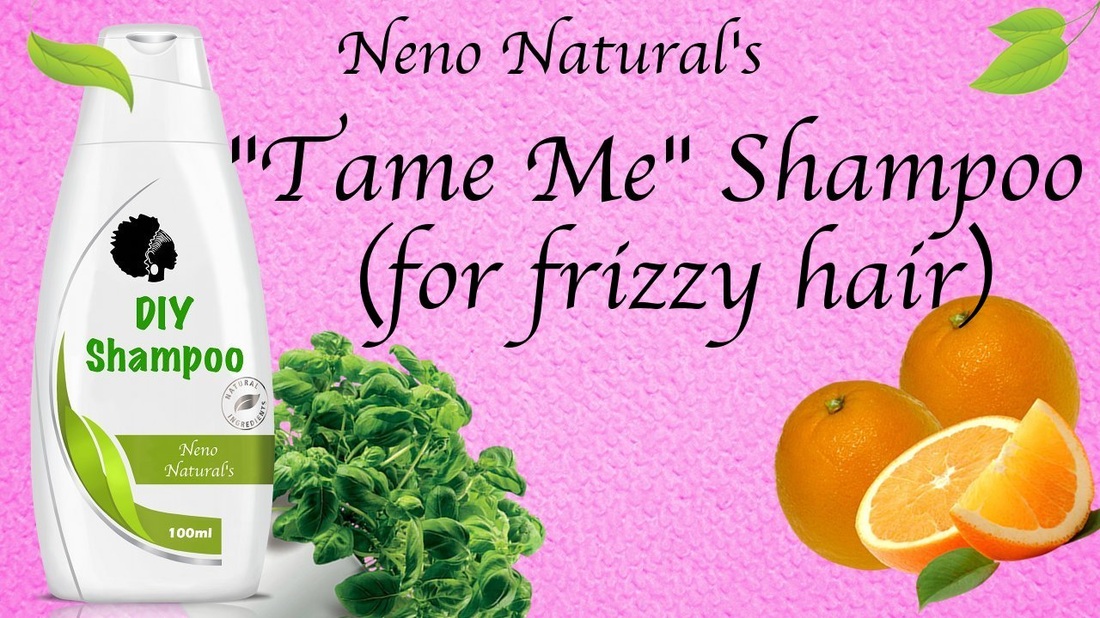
|
I now blog about wealth creation - so if you have any money questions meet me there, you can do all sorts of cool things like leave me a voicemail.
By Heather Katsonga-Woodward
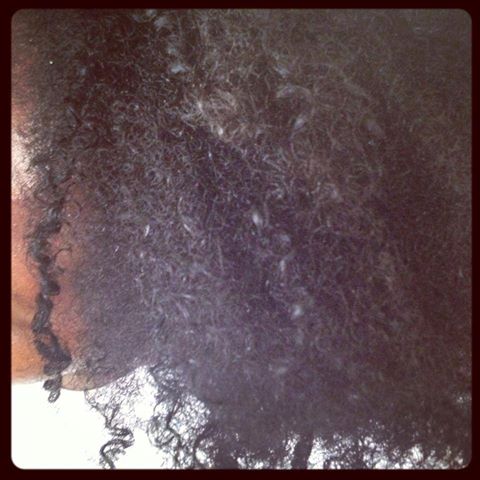
I was a natural hair blogger and mixtress living between London & Chicago from 2012 to 2017. I always thought I was 4C but some say 4B; images below - you decide! Heather xx
Categories
All
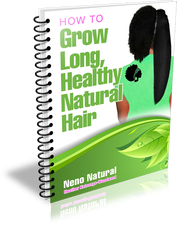
Click for free eBook!

Check out the podcast!
Archives
November 2016

|