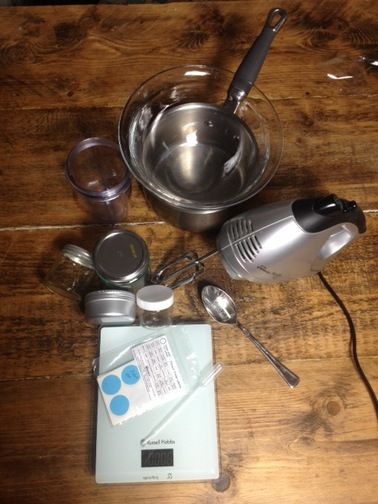
In addition to the ingredients you need the following equipment to make my DIY Whipped Butters:
That's it. It is not complicated at all! For specific ingredients please look at the list under the recipe you want to make or download Neno Natural's ~ DIY Whipped Butters Course Ingredients List (look under "resources" on the whipped butters page). 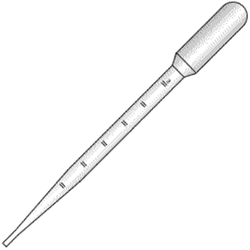
Why Do You Need The Pipettes?
Pipettes make picking up tiny quantities a lot easier than decanting from a bottle. In one of the hair butters I will use a fragrance oil and in another I'll use colour and both of those are easier to pick up with a pipette if they don't come with a dropper cap. Pipettes are very cheap and you can actually get them off eBay or Amazon. See links the product links to Amazon. I use a tiny beaker when I have run out of pipettes. Can You Re-Use Pipettes? 
You're not meant to but you can if you are making products just for yourself. Fill a jug with warm water and a drop of dishwashing liquid then suck the water in and out of the pipette. Do the same using clean warm water until you feel the pipette is clean.
Also, don't swap and change pipettes between different products. If you used a pipette for a certain colour or fragrance then keep using it just for that product or fragrance even after you clean it. Yes? Great!
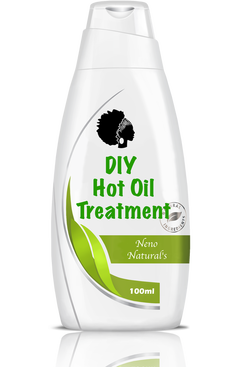
The Tame Me Hot Oil Treatment is designed to nourish and condition frizzy hair in such a way that frizziness is tamed. Argan oil is especially reputed to be useful for this function.
INGREDIENTS Carrier oils/butters
Essential oils
METHOD
APPLICATION
STORAGE
You can store the oil blends indefinitely but re-heating oil that has already cooled would reduce the function of the essential oils – they do not take well to heat. 
Get your FREE ebook on How To Grow Long, Healthy Natural Kinky or Curly Hair. You might also like: Neno Natural's DIY Hair Recipes 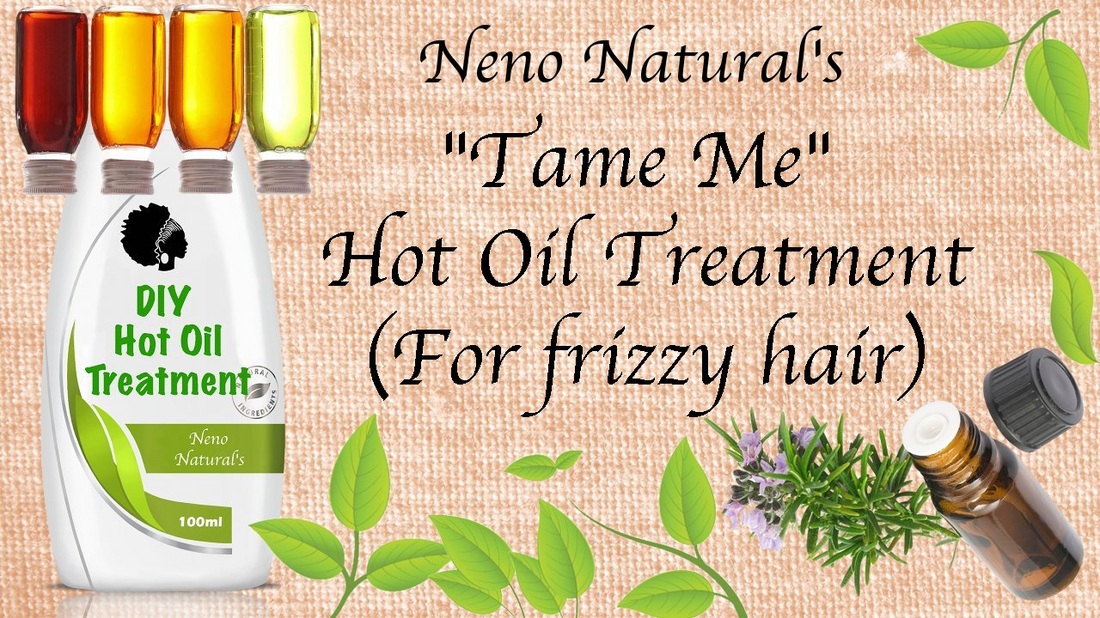
The Adore Me Hot Oil Treatment is designed to nourish and condition thin (or thinning) hair without weighing down the strands. The essential oils used are also reputed to help stimulate hair growth by encouraging the flow of blood to the scalp.
I have thin strands on the lower third of head and this blend really helped to condition and soften those strands. I wouldn't use cocoa butter in a leave-on product for thin hair but as a hot oil treatment will be rinsed off, it's a great time to enjoy cocoa butter's benefits. INGREDIENTS Carrier oils/butters
Essential oils
METHOD
APPLICATION
STORAGE
You can store the oil blends indefinitely but re-heating oil that has already cooled would reduce the function of the essential oils – they do not take well to heat. 
Get your FREE ebook on How To Grow Long, Healthy Natural Kinky or Curly Hair. You might also like: Neno Natural's DIY Hair Recipes 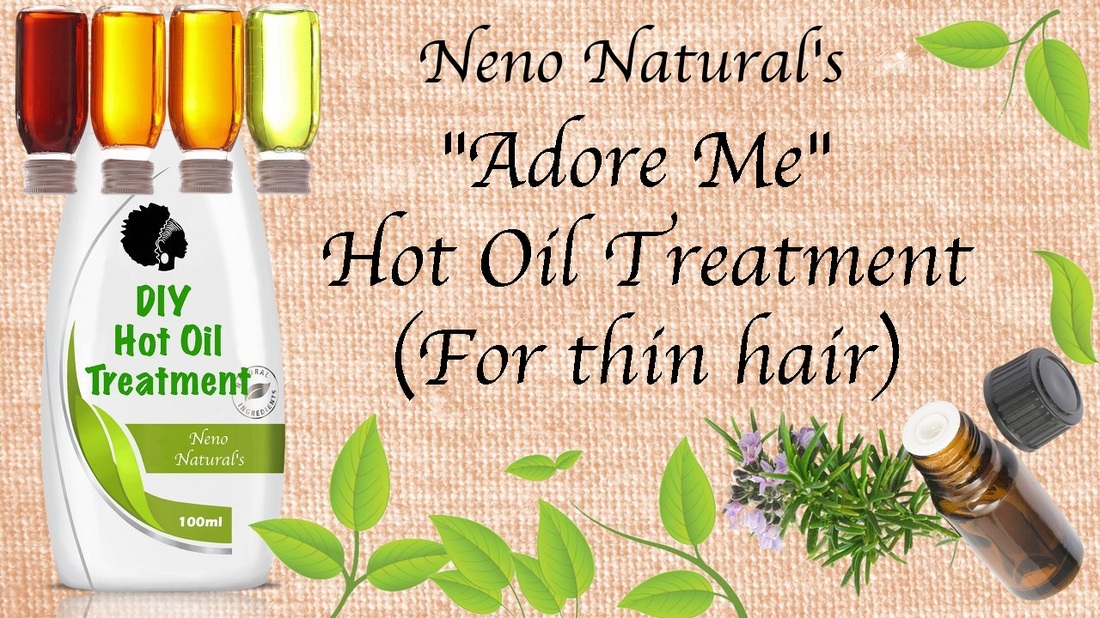
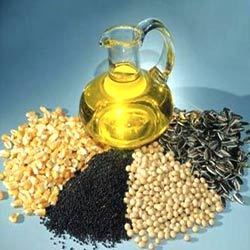
After a carrier oil or butter has been extracted it is usually refined in various ways to achieve the goals or requirements of a large scale user e.g. a food company or a cosmetics company.
Refining normally involves high temperature and chemicals. Refining may include some or all of the below: Degumming Removal of phospholipids (a type of fat) from an oil using water and centrifugation. This will also result in the loss of vitamins, minerals and the natural colour of the oil (chlorophyll). My research doesn't suggest that they are bad so I have no idea why degumming is necessary. I'll probably need to read further into this. Bleaching To change or remove the colour an oil is bleached. This produces a clear oil. Because oils and butters are natural substances an unrefined oil will vary in colour from one batch to the next. If a big company is selling to uneducated consumers (i.e. most people) they would rather just bleach and then dye the oils with a uniform colour. Nutrients are removed in the process. Common dyes include xanthophyll (a derivative of chlorophyll) and beta carotene. Deodorizing The oil is deodorised using steam distillation at a temperature of 232 degrees C (450F) for 30 to 60 mins. Winterizing Removal of natural waxes which can lead to a cloudy oil at low temperatures. Removal of fatty acids or taste and smell If the oil/fat is bound for the food industry it is frequently refined to remove taste and smell resulting a bland tasteless oil/butter. In addition, a high concentration of fatty acids can give an oil a bitter taste or even make the oil corrosive. The "acid value" shows how many fatty acids are in the oil. When the acid value is great than 5.0 it can burn the back of your throat and even corrode metal containers reducing the shelf life of any products that are made. Caustic soda is used to remove some of the fatty acids. The high temperatures involved in this process kill some of the nutrients and essence of the oil. Preserving Addition of antioxidants to extend the life - I'm okay with this. Replacement of vitamins and minerals To replace those destroyed during refinement - I am okay with this. It's better than destroying them and not replacing them although not bothering to over-refine would be even better. Conclusion A very refined oil or butter will have zero nutrients and will just be composed of various fatty acids. However, it can still be labelled as "pure" or "natural" or even "organic" provided it has met those criteria; organic does not mean unrefined, it generally just means chemical fertilisers, pesticides and other artificial chemicals have not been used in the farming of something. This is why I find those terms completely useless. It is better to go for an oil or butter that says "unrefined" or at least explain what sort of refinement the oil has gone through so that you know what you are buying. Some refining is beneficial - I am only concerned about refinement that reduces the nutritional value or purity of an oil. Finally, keep in mind that oils and butters extracted for making cosmetics may not be refined enough to eat!! 
Get your FREE ebook on How To Grow Long, Healthy Natural Kinky or Curly Hair. You might also like: Ref: The Aromatherapy Encyclopedia by Carol Schiller & David Schiller; Carrier Oils by Len Price 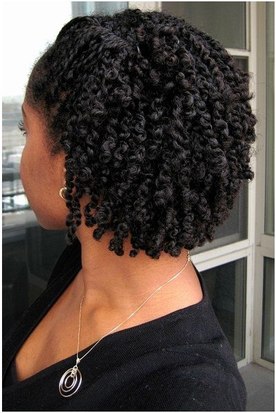
The Soothe Me Hot Oil Treatment is designed to help soothe an itchy scalp (just like it says) but it will also nourish your hair.
Before I discovered that I was allergic to my shower filter my scalp used to itch furiously and peppermint essential oil really helped me in those days. Oh, how I suffered! INGREDIENTS Carrier oils/butters
Essential oils
METHOD
APPLICATION
STORAGE
You can store the oil blends indefinitely but re-heating oil that has already cooled would reduce the function of the essential oils – they do not take well to heat. 
There are four key factors to consider when you are looking for a quality essential oil:
1. The quality of the plant material used If you are super eco friendly then you may be as concerned about the quality of plant material that you use for beauty products as you are about what you eat. The best plant material in your case would be plant material grown in the wild, far away from polluting cars and factories and grown without pesticides, herbicides and other "unnatural" stuff, i.e. organic essential oils. Personally, I am not too concerned! I won't pay the premium for organic things that will be applied externally. 2. The Plant source Some essential oils have different varieties. Sometimes this means no more than the essential oil coming from a different country or region but at other times the essential oil comes from such a different species of the plant or tree that its therapeutic benefits are completely different. A good example here is cedarwood essential oil. 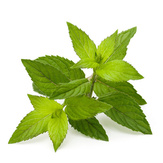
3. Extraction method
The best quality essential oils will have been extracted using:
Not so ideal are essential oils produced by:
4. Blends - bastardised essential oils
Some essential oils are blended with a cheaper essential oil to create a higher profit for the producer! Apparently this is common knowledge in the essential oil industry and is called "making a soup". Of all the things that can impact the quality of an essential oil this is the one that annoys and concerns me the most. When I buy an essential oil I do not want it to be blended with anything else. Here are examples of common blends that I found in The Aromatherapy Encyclopedia by Carol Schiller & David Schiller:

To ensure you are getting a good quality oil and that it is the exact oil you want, read the details and make enquires to the supplier if the details are not clear. Get your FREE ebook on How To Grow Long, Healthy Natural Kinky or Curly Hair. You might also like:
Ref: The Aromatherapy Encyclopedia by Carol Schiller & David Schiller How Are Essential Oils Extracted From Plants? (Steam distillation, CO2 Extraction, Cold Press, etc.)23/1/2014
The way that an essential oil is extracted will help you determine whether or not you are buying a good quality oil. If you jump on eBay or Amazon to buy essential oils you will see that some are stupidly cheap - avoid those, they were probably extracted using one of the cheap methods that destroys most of the good stuff in them; or worse, the essential oil may have been diluted with something cheaper oil to increase the seller's margin! Yes, this happens.
Okay, so how exactly are essential oils extracted from plants?
Steam distilled, CO2 extracted and cold pressed essential oils are the purest and best quality. All the information below this line is purely optional - extras for the super keen mixtress - the process names above are enough for you to go shopping for good quality essential oils. 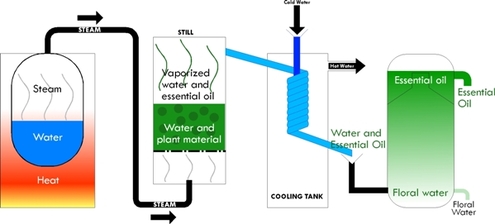
1. Steam distillation
Steam distillation is represented in the diagram. It is the most common method used to produce essential oils. Steam from boiling water is used to extract the essential oil from plant material. The steam rises and passes through a cold coil thereby turning into liquid. Essential oils float on top of the water in the second vessel; these are skimmed off and properly separated from the water. The remaining water is also useful because it can be sold as a "floral water" - floral waters possess many of the qualities of an essential oil and can be used instead of actual water in my DIY Hair Care Recipes. 2. Water distillation Hot water is used instead of steam. Some plants e.g. lavender do not take well to this method if the are left exposed to the hot water for too long much of the goodness in the essential oil is destroyed. Water distillation can be done under lower pressure to preserve more of the plant's essence and goodness. Flower blossoms and finely powdered plant material can be extracted well with water distillation. Both essential oils and floral waters a.k.a. hydrosols are produced using this method. 
3. Carbon Dioxide Gas Extraction
Carbon dioxide gas extraction uses carbon dioxide gas, high pressure, low temperature and expensive equipment to extract essential oils. There are two types: a. Select carbon dioxide gas extraction In the select method essential oil is extracted at a temperature of 31 degrees celsius (88F).
b. Total carbon dioxide gas extraction In the total method a higher temperature is used. The essential oil produced contains more essence from the plant is thus a little better than the select method. 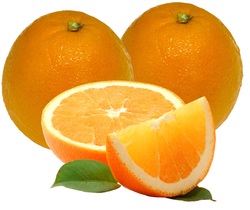
4. Cold Pressed Citrus Oils
This is only done for citrus fruits.
5. Maceration extraction With maceration, flowers (e.g. rose, jasmine) are soaked in hot oil so that their cell membranes are ruptured and the essence absorbed into the hot oil. The oil is then separated out and the essential oil bottled. This is similar to the solvent method but hot oil is used instead of a solvent. 
6. Solvent extraction
With the solvent extraction method plant material is soaked in a solvent e.g. petroleum ether, methanol, ethanol or hexane. The cell membranes of the plant material are ruptured and the essence absorbed into the chemical. The solvent is then separated and the essential oil bottled. However, some chemical residues are left from the solvent so the resulting oil is not pure. The amount of solvent left could range from 6-20% with some solvents. With hexane, however, the residue left is said to be 10ppm which is a very low concentration; it's equivalent to 0.001%. Personally, if I could prove that the solvent used was hexane and the price of the essential oil was comparatively low just for this reason then I would be happy to take my chances on this one because I spend a small fortune on ingredients for my DIY Hair Care Recipes. 
Get your FREE ebook on How To Grow Long, Healthy Natural Kinky or Curly Hair. You might also like: Ref: The Aromatherapy Encyclopedia by Carol Schiller & David Schiller; about.com; terrapinfamily; essentialoils.co.za: solvents, maceration; fao.org 
I don't expect a newbie mixtress to start off with a huge collection of essential oils from day 1; I certainly didn't.
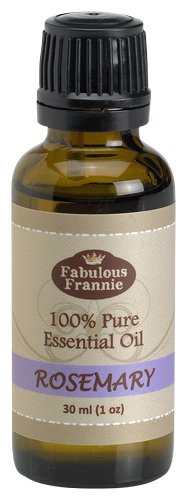
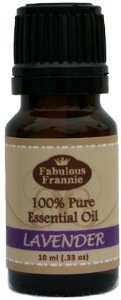
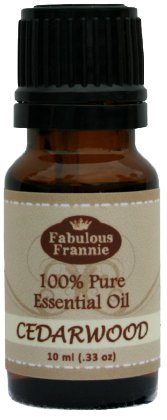
In my opinion these are the six most important essential oils for a kinky haired girl:
Except for bergamot I have used all the other 6 essential oils for a very long time. I started using lavender, rosemary & ylang ylang in 2006 for massage. I added peppermint a little later on and when I went natural in 2011 I immediately added cedarwood and thyme because I knew they were reputed to be great for hair growth. In 2013, I added bergamot - I love the smell and it's also great for weak, dull or thin hair.
The Feed Me Hot Oil Treatment is designed to nourish and condition hair both inside the cuticle and outside before you give it a shampoo. Using a combination of both carrier oils and essential oils.
INGREDIENTS Carrier oils/butters
Essential oils
METHOD
APPLICATION
STORAGE
You can store the oil blends indefinitely but re-heating oil that has already cooled would reduce the function of the essential oils – they do not take well to heat. 
Get your FREE ebook on How To Grow Long, Healthy Natural Kinky or Curly Hair. You might also like: Neno Natural's DIY Hair Recipes

Get your FREE ebook on How To Grow Long, Healthy Natural Kinky or Curly Hair. You might also like:
Ref: The Aromatherapy Encyclopedia by Carol Schiller & David Schiller |
I now blog about wealth creation - so if you have any money questions meet me there, you can do all sorts of cool things like leave me a voicemail.
By Heather Katsonga-Woodward
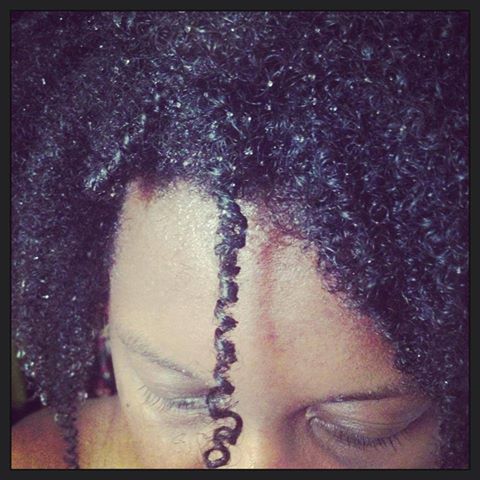
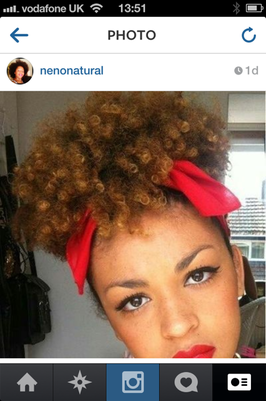
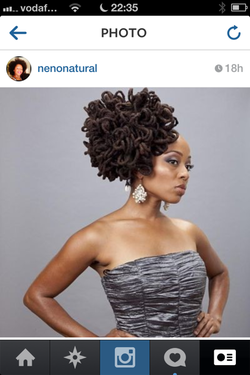
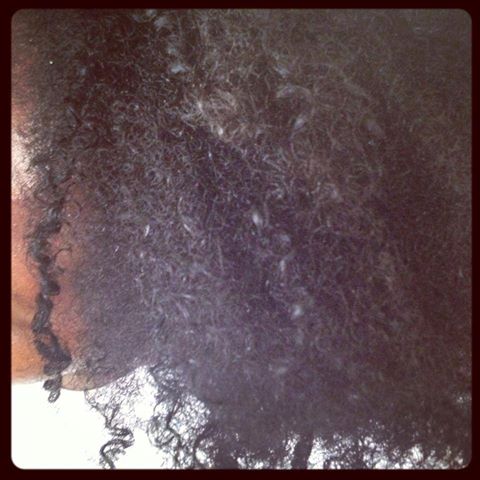
I was a natural hair blogger and mixtress living between London & Chicago from 2012 to 2017. I always thought I was 4C but some say 4B; images below - you decide! Heather xx
Categories
All
Click for free eBook!

Check out the podcast!
Archives
November 2016

|