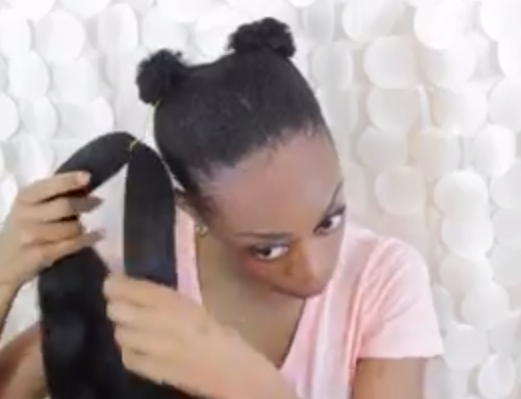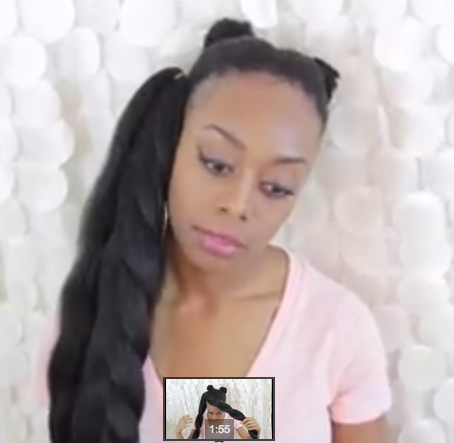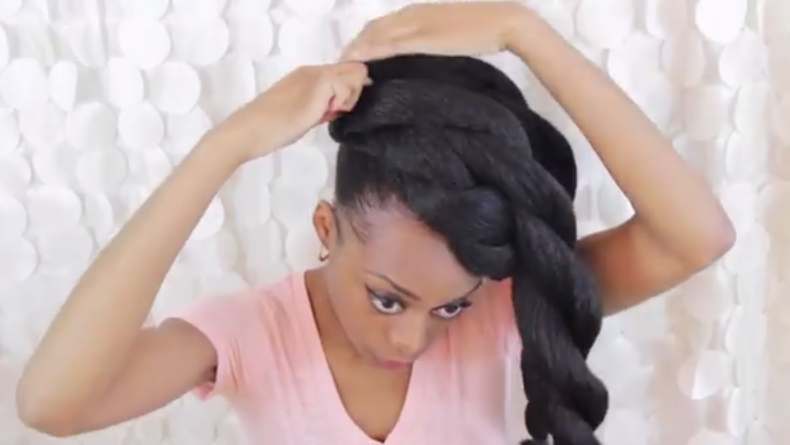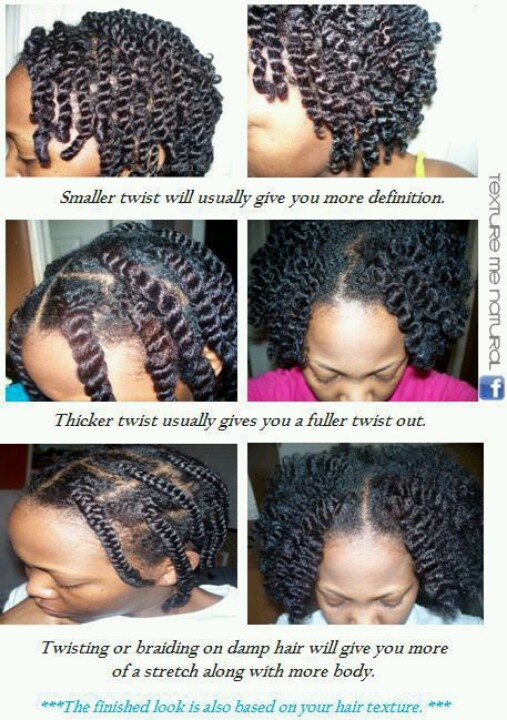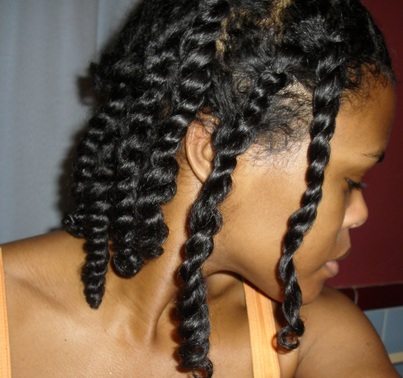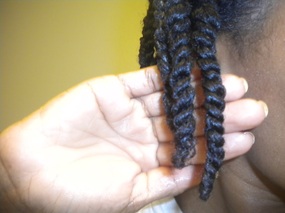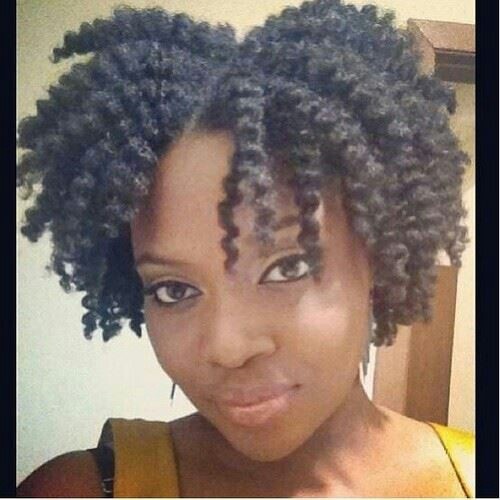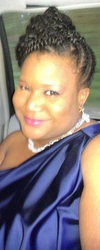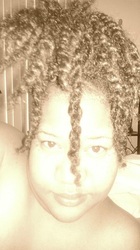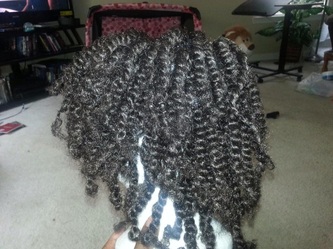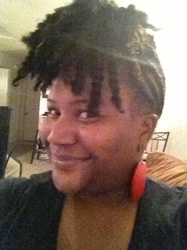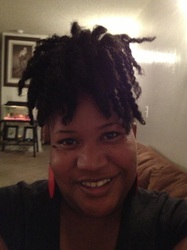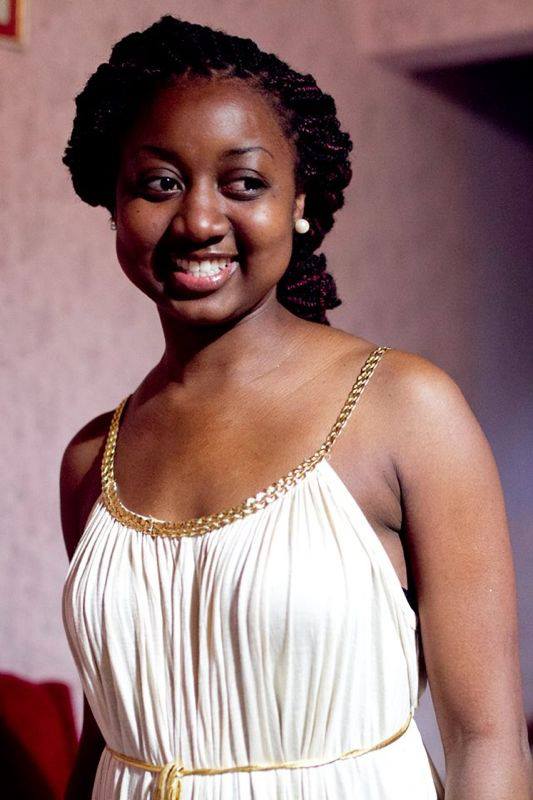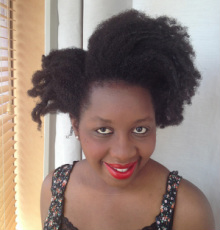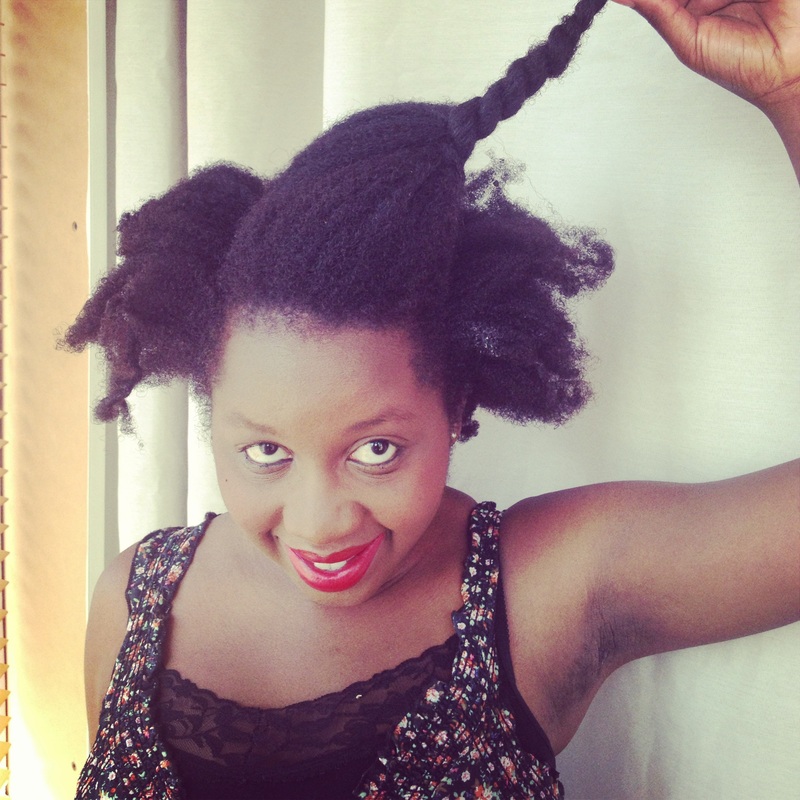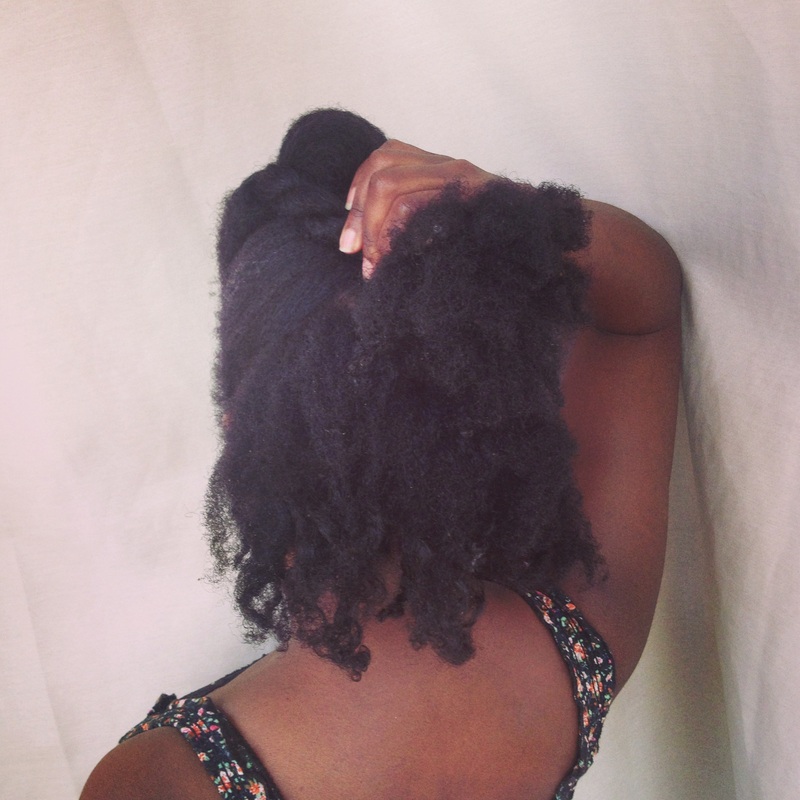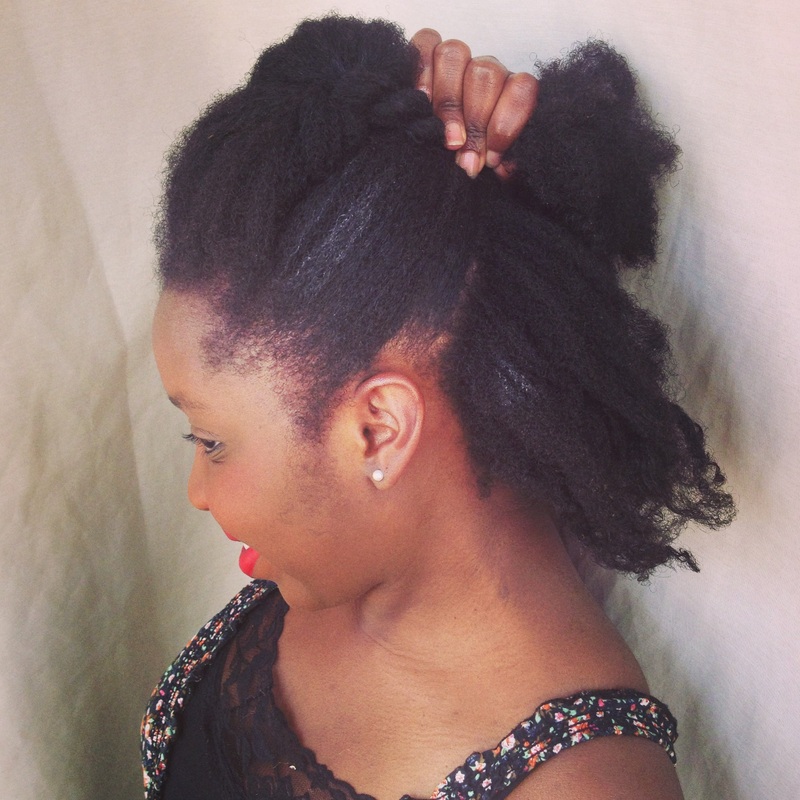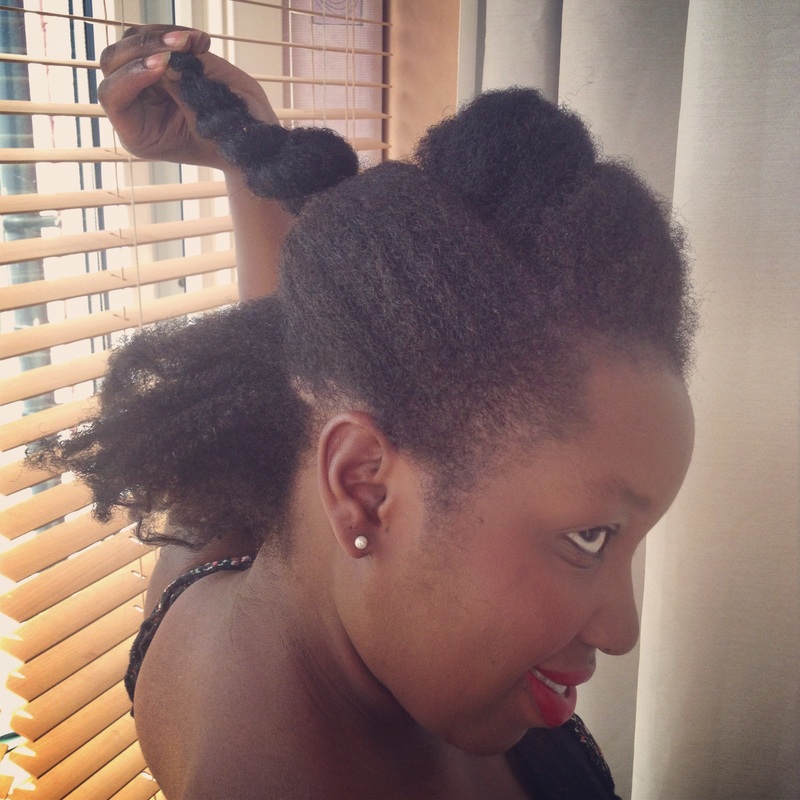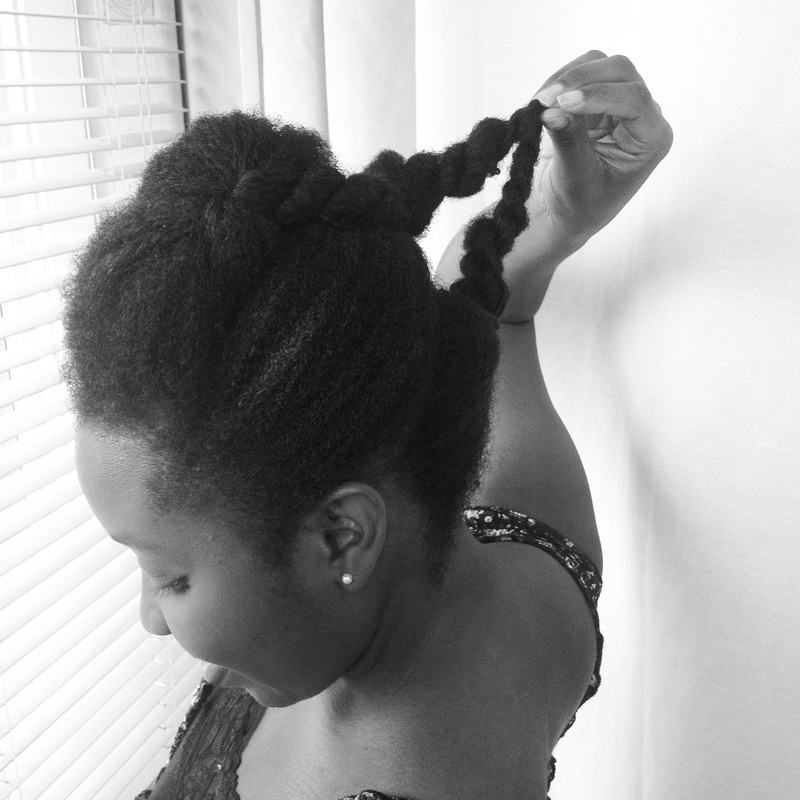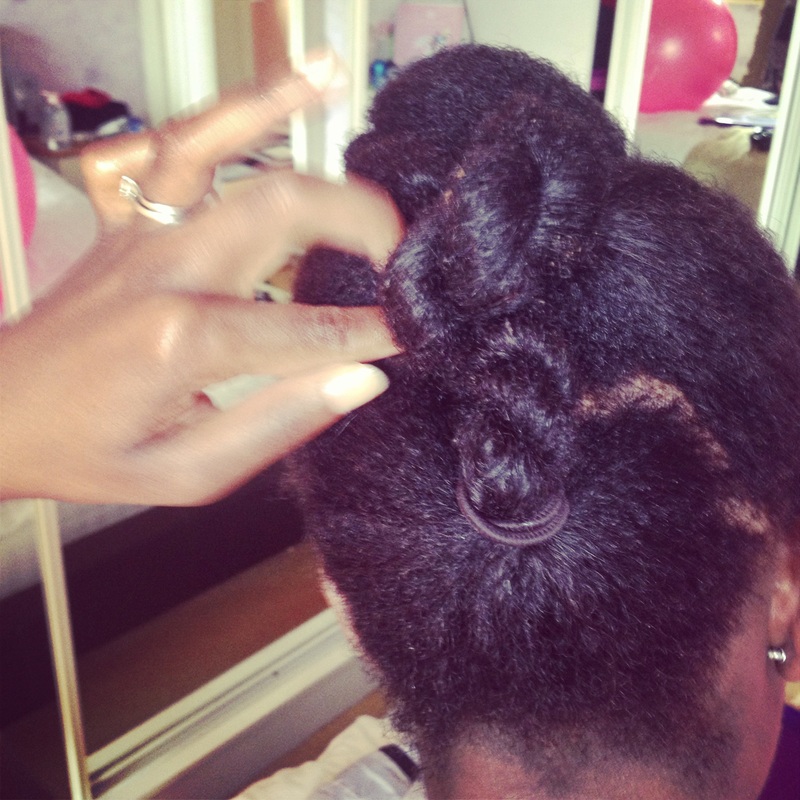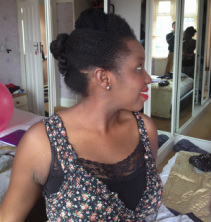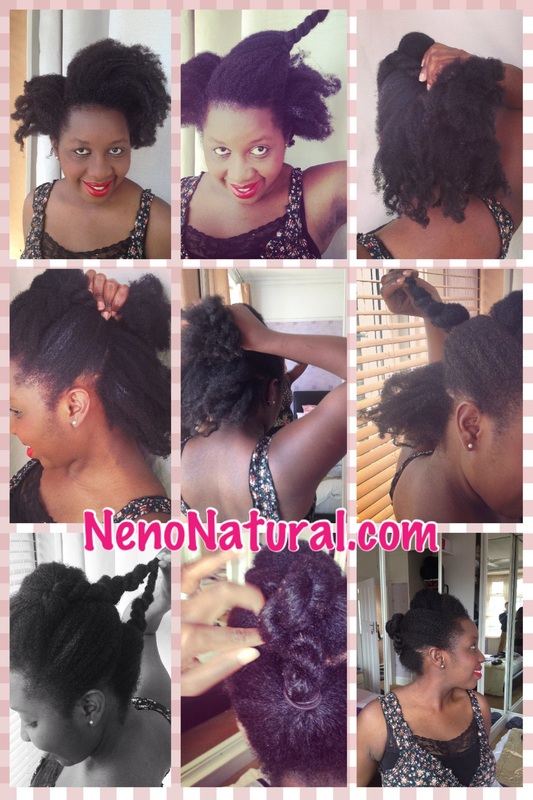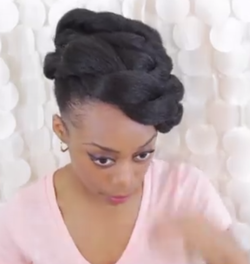
Gloria Ann sent me the below video to show how you can achieve an updo like the one on the left even if you have a TWA.
You can do this even if you have longer hair especially if, like me, you have the type of hair that does not like to be brought together in a bun because it's too thick and curly. Next time I am invited for dinner at the White House or at Number 10 - this is the 'do that I'm going to rock! Thanks Gloria Ann. 
Get your FREE ebook on How To Grow Long, Healthy Natural Kinky or Curly Hair.
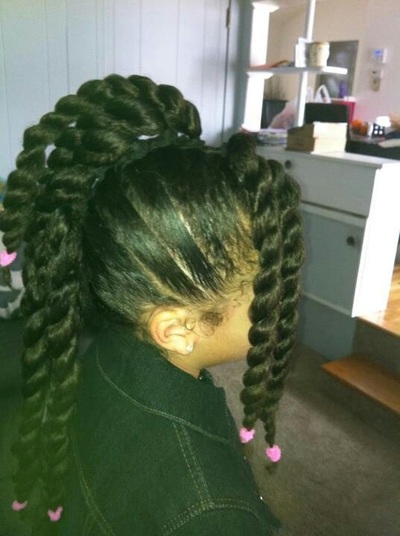
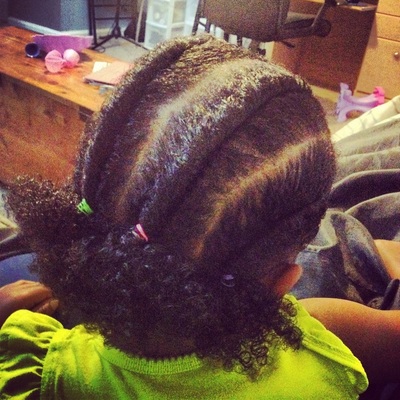
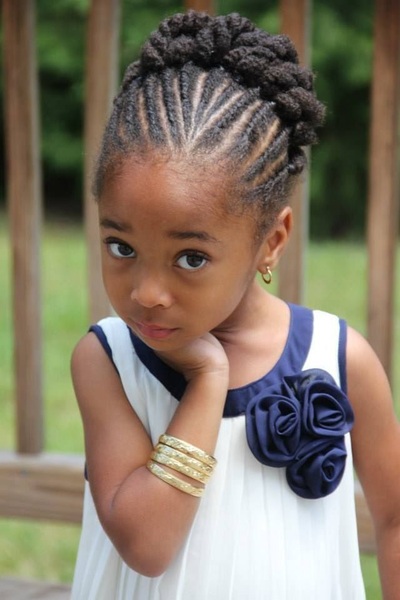
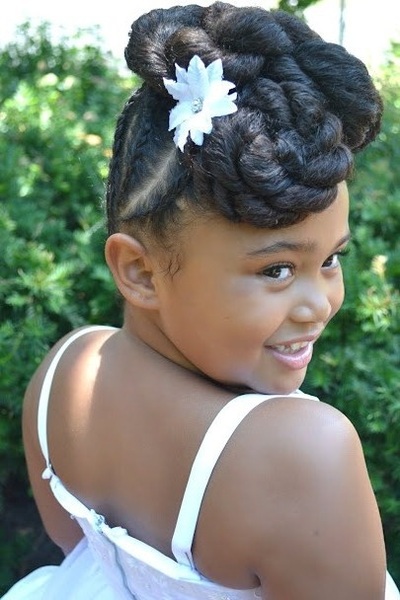
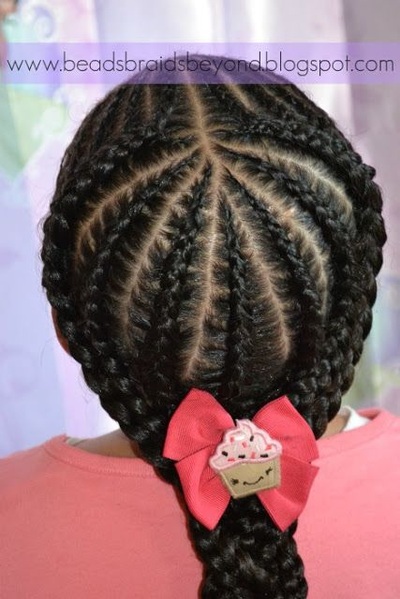
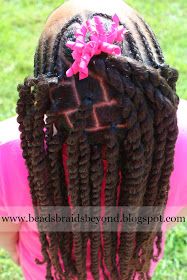
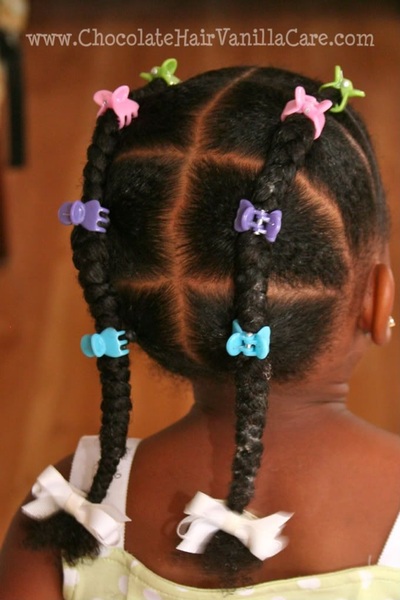
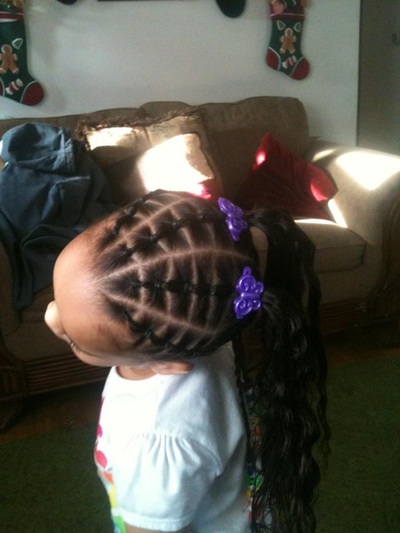
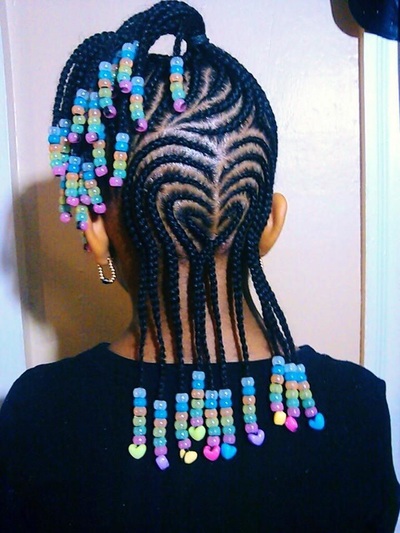
If you're looking for some inspiration to help with doing your little one's hair I've found some great videos for you. If I had kids I would be very much in favour of styles you can do on a Saturday or Sunday afternoon that would last one or two weeks.
I would spare them from hair of extensions for as long as possible. Images of finished Natural Hairstyles That Can Easily Be CreatedA Full Tutorial From DiscoveringNatural: Twisted Puff TutorialI'm going to Call This One The Bon-Bon
I personally don't approve of the use of Blue Magic though.
I can feel The Love That Went Into This Kid's MoHawk!
Scroll down for more styles for kids!
Get your FREE ebook on How To Grow Long, Healthy Natural Kinky or Curly Hair.
I just discovered the below video by bargain princess
Personally, whether I do a braid-out or twist out I usually hide the ends in a protective updo because my ends get dry quite easily. I also find it hard to get a neat definition on the end - too much frizz! Get your FREE ebook on How To Grow Long, Healthy Natural Kinky or Curly Hair.
Lots of people insist of taking a small amount of hair and attaching a large braid to it because they think that it looks better. Well, here is a picture I stumbled upon of my sister in which she attached a small braid extension to a large patch of hair and it still looks great!
If all you needed was an example of how it looks to convince you then I hope this does the job. More pictures at the bottom. These are my sisters; we are all natural. Heather :)
This is a quick and easy style for medium length natural hair.
Step 1: Start with moderately stretched hair. Step 2: Twist the hair on top of your head into a loose twist. Step 3: Grab the hair along the sides and centre of your head and tie it up using a hair grip (don't pull too tightly to avoid damaging your edges).
Step 4: Twist the hair in the central grip.
Step 5: Tie the remaining hair at the back with another hair grip and twist that. Step 6: Pin the two loose twists into your hair. Feel free to share this summary:
This is a quick and easy hair-do that you can do on shrunken, stretched or twisted hair. Using a scarf helps to ensure that your edges aren't pulled to tightly.
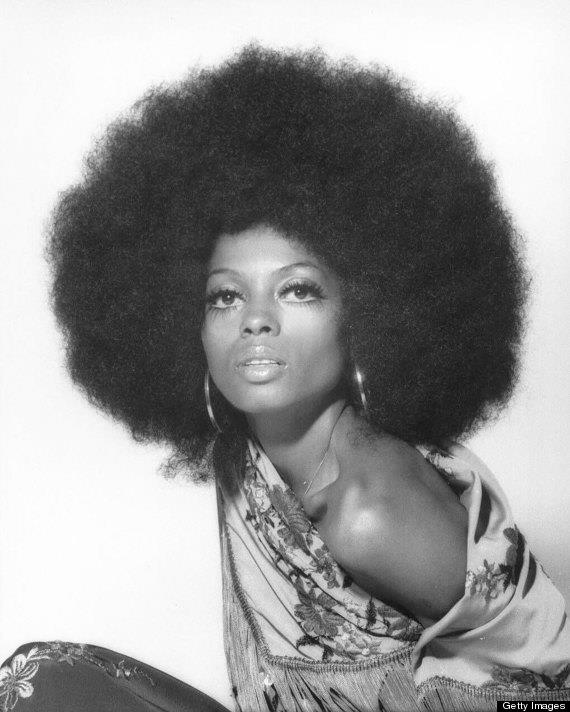
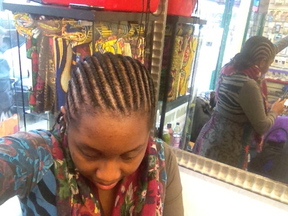 I'm not a regular wig wearer but I was inspired by the below picture to get one. I shared a picture I saw Facebook, lo-and-behold someone recognised the person in the picture, tagged them and she revealed that, it was not her hair, it's a wig. I asked where she got it, she asked the friend who she borrowed it off and that is how I found myself on one cold March afternoon at LeBelle in Woolwich (12 Beresford Square, Woolwich, London, SE18 6BA) buying an afro wig. I need a break from combing my hair and the weather has been horrible so for the next 4 to 6 weeks I plan to have corn rows.
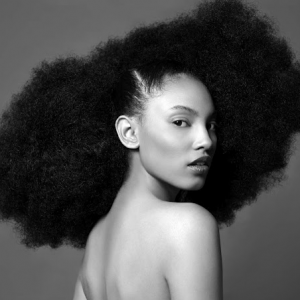 We all want thick hair! But very few have it... We all want thick hair! But very few have it... First things first, keep in mind that hair thickness is genetically predetermined; this means that you cannot make hair that has always been thin any thicker. Period. If your hair was thick and has started getting thinner, a problem that I myself have had, then here are 8 tips on how to improve your natural hair's thickness? The good news is that there are styles that make naturally thin hair look more volumised. My hair is thin at the very back and medium thickness for most of the rest. At the very top it's above average thickness. Here are some cool things you can do with thin hair. 1. Pin the front up and let the hair fall at the back only rather than having it all loose. Generally pin up styles, partial or complete, help to make hair look fuller 2. Use extensions e.g. marley hair to add volume. The below tutorial shows how quick and easy it can be once you get used to adding braid extensions to your hair. I think the head below is average thickness so don't despair if you're thinking "that's not thin hair". 3. Wear puffs and shrunken afros. Any hairstyles that bring hair together add to the illusion of volume. Puffs are awesome on stretched hair and even hair with shrinkage. Let shrinkage happen. Shrunken hair may look shorter but it also looks very thick.  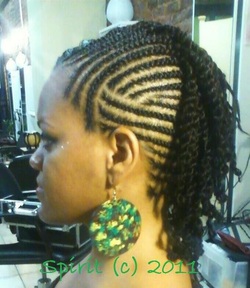 Protective styling is all about retaining more length and retaining hair moisture. There are three types of protective styles: 1. Completely protective styles Hide the ends of hair from view. Hair ends are the oldest segment of hair on your head and also the weakest. Hiding them from view can help to reduce breakage. When your hair is pulled together it's much less vulnerable. Think about it this way: is it easier to break one toothpick or ten bunched up together? The answer is the same for hair. 2. Low manipulation protective styles May have the ends exposed but they require little day-to-day hair handling. Handling such as combing, blow drying and styling hair is when breakage normally occurs. When my hair was short I could pull a comb through it with zero resistance. Nowadays tangling is such a big issue for me. Frequently with a twist/braid-out or a roller set you can go two or three days without having to restyle your hair thus giving it a break. 3. My favourite hairstyles are both completely protective and low manipulation. This category is also great when you are transitioning and still figuring out how to manage your natural hair. When your hair is plaited in some way it gets a proper break and you completely forget about whether or not it's "growing". Ideally, I want to spend most of next year in braids. My only worry is that I have to comb my hair properly to get it plaited and I don't usually do that; I enjoy far less breakage under a minimal comb regime. Finger combing only turned out to be a bad idea for me. EXAMPLES!
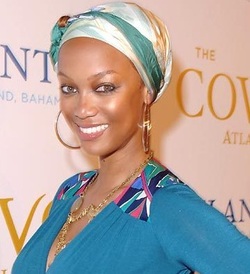 4. Hats and scarves This is a subcategory of completely protective styling. For most of 2011 my hair was too short to be pinned down so I wore hats and scarves over my head whenever I was outside. Seriously, I am so obsessed about my hair being covered that one day I walked out the house with it exposed my husband shouted "your hair's not covered" like I was about to drop a baby or something. I had to explain that my ends were hidden so it was okay to walk between the house and the car without a hat. In summary, the whole aim of protective styling is to reduce opportunities for breakage by keeping hair ends hidden and retaining more hair moisture. Opportunities for hair breakage increase when hair strands are dry and isolated, i.e. not tied up, when hair ends are exposed to environmental elements (sun, wind, cold) and when you're "handling" your hair. If you are trying to grow long hair consider using protective styling more often. Protective styles are especially helpful during winter, when it is very hot outside and when the central heating makes a room very dry.  Get your FREE ebook on How To Grow Long, Healthy Natural Kinky or Curly Hair. |
I now blog about wealth creation - so if you have any money questions meet me there, you can do all sorts of cool things like leave me a voicemail.
By Heather Katsonga-Woodward
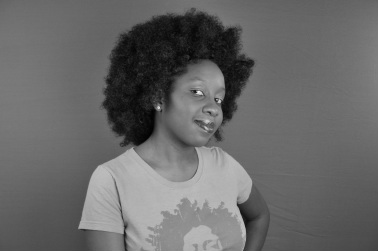
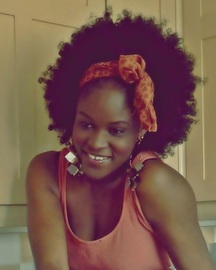
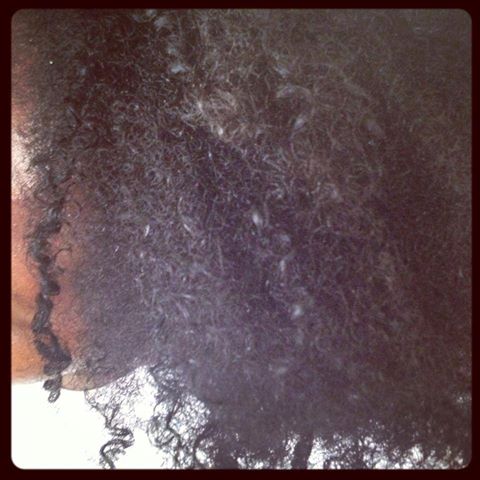
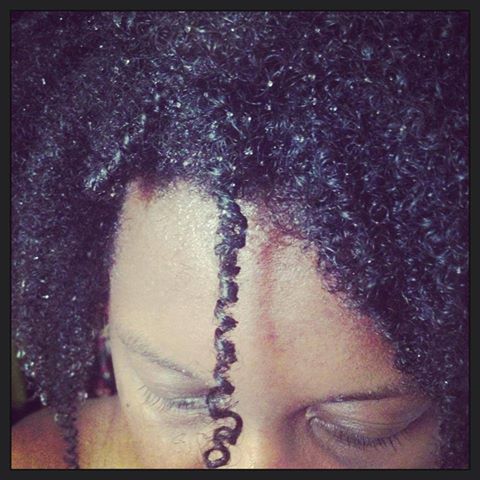
I was a natural hair blogger and mixtress living between London & Chicago from 2012 to 2017. I always thought I was 4C but some say 4B; images below - you decide! Heather xx Categories
All
Archives
November 2016
|

